Why Choose Walk Path Lights for Outdoor Spaces?

Walk Path Lights do more than mark a route. They help people see changes in paving, low steps, and garden edges after dusk. A warm pool of light beside a stone path can make a home feel welcoming, while reducing the chance of missed footing. The goal is not to make every corner bright. Too much light can flatten the garden and create glare.

Landscape-lighting designer Janet Lennox Moyer is known for her work on residential outdoor lighting. A useful principle consistent with her design approach is: “Let the path be clear, but let the light belong to the landscape.” Treat that as guidance, not a substitute for a site-specific lighting plan. Fixture spacing, beam direction, mounting height, and nearby windows all affect the result. Walk the route at night before deciding where each light should go.

Good choices begin with the path itself. Narrow fixtures can suit a compact walkway, while broader, shielded beams may help reveal uneven stone. Choose durable, outdoor-rated fittings, and check that their brightness feels comfortable from a seated view as well as while walking. Small details matter. A light aimed at a bedroom window can become annoying, even if the path looks polished.

There is room for judgment here. A few dim sections may preserve the garden’s depth, but a dark step deserves attention. Walk Path Lights work best when they guide quietly, fit the setting, and make everyday movement feel easier.
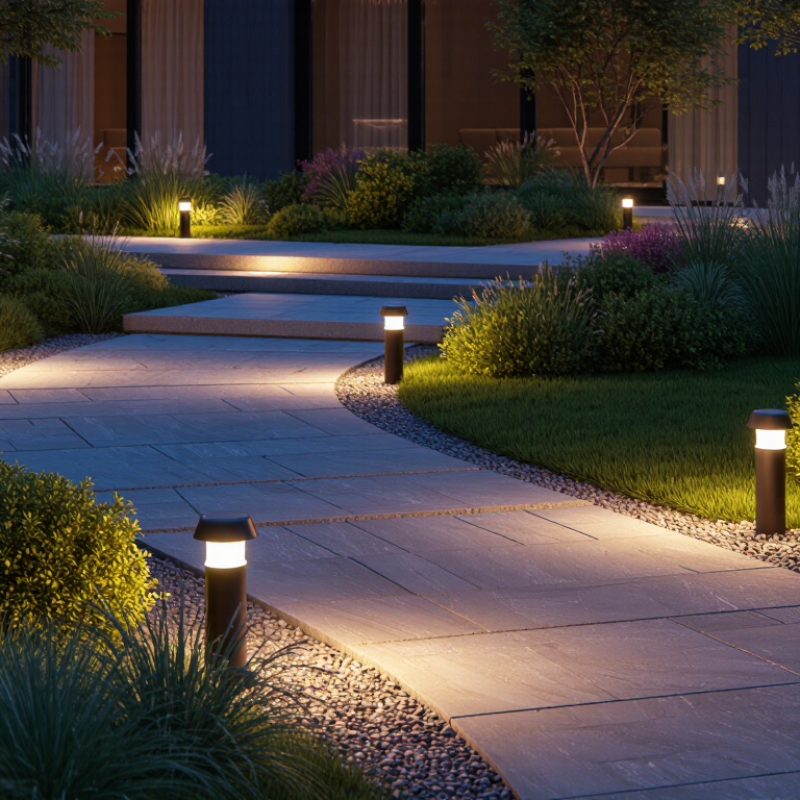
Why Choose Walk Path Lights for Outdoor Spaces?

What Are Walk Path Lights and Where Are They Used?

Walk path lights are low-mounted outdoor fixtures that make the edges of a route easier to see after dark. They may sit beside paving, be built into steps, or stand as short bollard-style lights. Their job is not to flood a whole yard. A gentle pool of light can reveal a stone edge, a change in level, or a damp patch. That matters at night.

They are commonly used along garden paths, front walks, driveways, and routes between patios and entrances. In commercial settings, they can mark pedestrian approaches, courtyard walkways, and landscaped paths around buildings. Placement matters: lights set too far apart can leave dark gaps, while bright fixtures aimed at eye level may cause glare. Walk the route at night before deciding where extra light is needed.

Energy use is another practical consideration. The U.S. Department of Energy’s Energy Saver guidance says LEDs use at least 75% less energy and last up to 25 times longer than incandescent lighting. Those figures compare light sources, not complete outdoor fixtures, so weather protection and fixture quality still count. A real path is rarely perfectly even. Check how the lighting looks in rain and from both directions, then adjust spacing or shielding where needed.


How Do Walk Path Lights Improve Outdoor Safety?

Walk path lights improve outdoor safety by making changes in ground level easier to see after dusk. A low, even glow can reveal steps, edging, loose gravel, and wet patches before someone reaches them. Place fixtures along bends and near changes in elevation, rather than aiming every beam directly at the walkway. That reduces harsh glare, which can hide details instead of revealing them. Keep light near the ground. A bright fixture beside a dark path may create deep shadows, so consistent spacing matters more than adding the most powerful lamps.

Good lighting supports careful movement, but it cannot fix a cracked paving stone or replace a handrail. Check the path in rainy weather, when reflections can make surfaces harder to judge. Choose outdoor-rated fixtures, secure cables, and keep lenses clear of dirt and leaves. Motion sensors can help in seldom-used areas, though a brief delay may leave a visitor in darkness. Test the setup from a child’s height and from the approach a guest would take. Small adjustments matter. I would not assume the layout is safe just because it looks attractive in daylight; night testing often reveals missed corners, glare, or uneven coverage.

Why Choose Walk Path Lights for Outdoor Spaces?

How Do Walk Path Lights Improve Outdoor Safety?

Light levels drop rapidly with distance from a source. This theoretical model uses the inverse-square law for a 100-lumen isotropic point source, with illuminance calculated as lumens ÷ (4π × distance²). Thoughtful placement of path lights can help reduce poorly lit gaps; actual results depend on fixture design, direction, mounting height, and surroundings. These values are illustrative, not a safety standard.

What Design and Lighting Options Are Available?

Walk path lights can complement both the landscape and the way people move through it. Low bollards create a steady rhythm beside broad paths, while recessed fixtures keep narrow paving visually quiet. Shielded lights help reduce glare at eye level. For a softer effect, place small fixtures near grasses or stone edging, but keep them clear of fast-growing plants.

Lighting choices affect comfort as much as appearance. Warm white light, around 2700–3000 kelvin, can make brick and timber feel inviting. Cooler light may show pale stone clearly, yet look stark in a garden. Choose beam angles with care: broad beams suit open paths, while tighter ones can mark steps or changes in level. Low output is often enough. Too many bright pools can flatten the scene.

Solar, low-voltage wired, and line-voltage fixtures suit different sites. Solar models are easy to position, though shade and short winter days can reduce runtime. Wired systems provide steadier output, but cable routes need planning before paving is finished. I would test one fixture after dusk before laying out the full run; light can look different on wet stone. Spacing takes adjustment, too. A measured plan may still leave an awkward dark patch. Check that fittings are rated for outdoor exposure and that their lenses are easy to clean.

Which Materials and Power Sources Suit Different Spaces?

For walk path lights, choose materials according to moisture, soil, and foot traffic. Powder-coated aluminum is light and resists corrosion, though chipped coatings can expose the metal. Stainless steel offers a sturdier feel, but its grade matters near salt air. Resin fixtures avoid rust and suit damp garden edges, yet cheaper plastics may fade or crack in strong sun. A glass lens gives crisp light; a frosted lens softens glare along a narrow path.

Power depends on shade and maintenance access. Solar lights need direct daylight, so dense tree cover and short winter days can leave them dim. Low-voltage wired lights provide more consistent output, especially beside steps or frequently used entrances, but require cable planning. The U.S. Department of Energy’s Energy Saver guidance reports that LEDs use up to 90% less energy and can last up to 25 times longer than incandescent bulbs. That supports LED use, though a good lamp still needs a suitable outdoor-rated fixture.

Tips: Check drainage and soil before placing stakes. Keep lenses reachable for cleaning. Choose warm, shielded light to reveal paving edges without shining into windows. One detail is easy to overlook: solar performance varies by site, so test a fixture through several cloudy days before buying a full set.

What Should You Consider When Choosing Walk Path Lights?

Choosing walk path lights starts with the route, not the fixture. Mark steps, bends, and changes in level, then check where trees or walls cast shadows. Low, shielded lights can reveal the walking surface without shining into a neighbor’s window. For wet or exposed locations, check the fixture’s outdoor ingress-protection rating and follow the maker’s installation guidance. A warm, modest output often feels calmer than a bright, cool beam. Too much light can make dark patches harder to see.

Power source matters. Solar fixtures are simple to place, but shade and short winter days can reduce charging; wired lights offer steadier output but need suitable outdoor wiring. Compare operating costs and service life, too. The U.S. Department of Energy’s Energy Saver guidance says LEDs use at least 75% less energy and last up to 25 times longer than incandescent lighting. That is a useful benchmark, not a promise for every product. Check lumen output, warranty terms, and whether batteries or lamps can be replaced. One easy mistake: buying by appearance alone.

Tips: Set a sample light at dusk before installing a full row. Walk the route from both directions and look for glare, dark gaps, and awkward shadows. Small spacing changes can make a noticeable difference.

Members of