Choosing the best Digital Humidity Sensor begins with understanding the environment it must measure. A greenhouse, warehouse, medical cabinet, and HVAC system demand different performance levels. Temperature range, condensation, airflow, and chemical exposure can change readings. Small details matter.
This guide presents seven practical tips for making a dependable choice. It examines accuracy, operating range, response time, calibration, output signals, installation, and supplier support. A sensor showing 50% relative humidity in a clean laboratory may behave differently beside a cooling coil. That difference can affect product quality, energy use, and maintenance decisions. Check the datasheet carefully. Marketing language is not enough.
Look for stated accuracy across the full temperature range, not only at room conditions. Confirm whether the device supports analog, digital, or communication outputs required by your controller. Consider protective filters when dust or condensation is present. They help, but they can also slow response. Calibration records provide stronger evidence than attractive specifications. Still, even a calibrated sensor may drift over time.
No sensor is perfect.
Practical testing remains valuable. Compare several readings in the intended installation area before approving a large deployment. Ask suppliers about traceability, replacement parts, firmware stability, and technical support. A lower purchase price may become expensive after repeated recalibration or early failure. These tips are designed to support informed engineering decisions, while recognizing that application conditions can expose weaknesses not visible on paper. Reliable measurement comes from matching the sensor to the task, then checking its performance in real use.
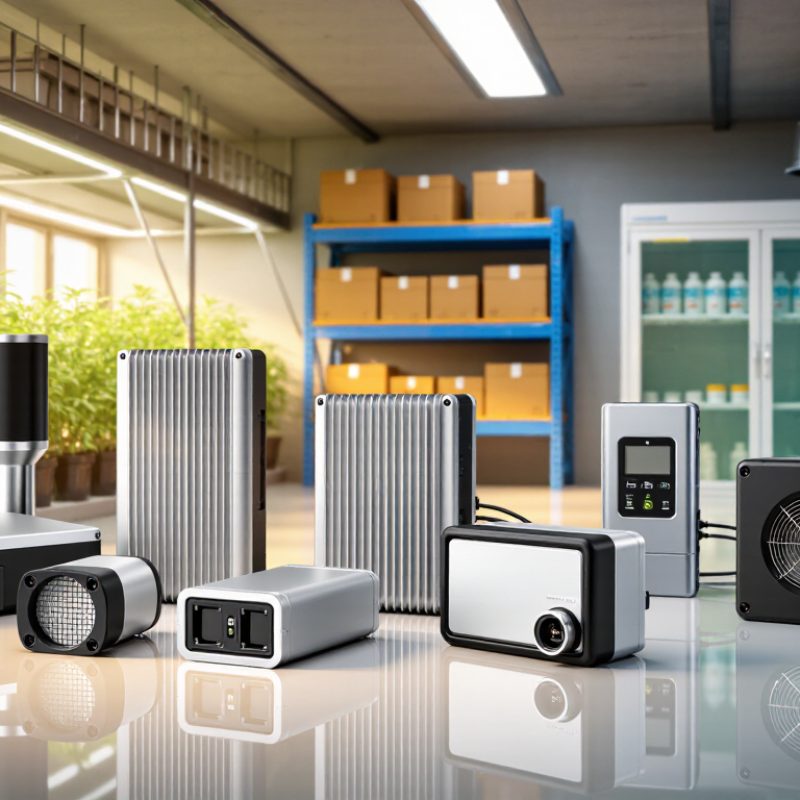
7 Tips for Choosing the Best Digital Humidity Sensor?
Define Your Measurement Needs and Operating Conditions
Start with the environment, not the sensor label. Record the expected humidity range, temperature, pressure, and possible condensation. A warehouse may need stable readings near 30–70% relative humidity, while a data center requires tighter control. ASHRAE guidance lists 18–27°C and 5.5–60% relative humidity for recommended data-processing environments. These figures show why operating limits matter.
Choose the measurement range with some margin. A sensor rated exactly for your target may drift near its limits. Check accuracy, repeatability, hysteresis, and long-term stability. Response time also matters. A slow sensor can miss a rapid humidity rise beside a cooling coil. That mistake can be expensive.
Look at the installation details. Airflow, dust, chemicals, and direct water exposure can distort readings. Place the sensing element away from vents and warm electronics. For critical monitoring, compare readings with a calibrated reference instrument. The U.S. Environmental Protection Agency commonly recommends indoor relative humidity between 30% and 50%, but local process requirements may differ. Do not treat one guideline as universal.
Think about maintenance, too. Calibration intervals often depend on exposure and required accuracy. A sensor may work well in a laboratory but drift faster in a dusty production area. I would test the chosen device through temperature cycles before deployment. Real conditions are rarely as clean as the specification sheet suggests.
| Tip | Measurement Requirement | Recommended Specification | Typical Target or Example | Why It Matters | Selection Check |
|---|---|---|---|---|---|
| 1 | Define the humidity range | Select a sensor whose specified relative-humidity range covers the complete application range, including possible condensation or dry conditions. | General indoor monitoring: 0–100% RH measurement range; controlled storage may require a narrower calibrated range. | Operation near the sensor limits can reduce accuracy, increase recovery time, or cause temporary saturation. | Compare the guaranteed operating range with the actual minimum, maximum, and transient RH values. |
| 2 | Set the required accuracy | Review the maximum RH error across the intended temperature range, not only the typical error at room temperature. | Basic comfort monitoring: ±3–5% RH; process or storage control: often ±1–3% RH. | A tighter tolerance is important when humidity limits affect product quality, calibration, or condensation control. | Check whether accuracy is specified at multiple RH points and temperatures, with hysteresis and repeatability included. |
| 3 | Consider operating temperature | Choose a sensor rated for the ambient temperature, thermal cycling, and any self-heating caused by nearby electronics. | Typical electronics environments: 0–70°C; industrial installations may require approximately −40–85°C. | Relative humidity accuracy depends on temperature, and condensation risk increases when surfaces approach the dew point. | Verify the sensor’s temperature accuracy, RH compensation method, and rated temperature limits. |
| 4 | Match response time to the process | Use a sensor with an appropriate response time and avoid placing it behind barriers or inside stagnant air pockets. | Room monitoring: 10–60 seconds may be adequate; fast control loops may need a response time of less than 10 seconds. | A slow response can delay alarms and cause a controller to react after the environmental condition has already changed. | Check response-time test conditions, airflow, protective filters, and the required sampling interval. |
| 5 | Choose the right digital interface | Select an interface compatible with the host controller, cable length, voltage level, and required data rate. | Common options include I²C for short PCB connections and RS-485 for longer industrial cable runs. | A compatible interface simplifies integration and reduces the need for external signal-conversion hardware. | Confirm supply voltage, logic levels, address options, protocol documentation, pull-up requirements, and cable limitations. |
| 6 | Evaluate contamination and condensation | Use suitable protection against dust, water droplets, chemicals, and cleaning agents without blocking vapor diffusion. | For exposed equipment, consider a replaceable hydrophobic or chemically resistant filter and a suitable enclosure rating. | Liquid water and contaminants can cause temporary saturation, offset drift, slower response, or permanent damage. | Review chemical compatibility, condensation recovery, filter maintenance, and installation orientation. |
| 7 | Plan calibration and long-term stability | Select a device with documented calibration data, stability specifications, diagnostic features, and a defined verification schedule. | For critical applications, establish periodic verification against a traceable reference and record sensor drift over time. | Humidity sensors can experience offset changes after prolonged exposure to high humidity, heat, or chemical vapors. | Check calibration intervals, replacement access, diagnostic alerts, and the availability of documented technical support. |
Note: Actual performance depends on temperature, airflow, sensor placement, contamination, condensation, and the conditions used for specification testing. Always confirm the latest technical documentation before final selection.