A Drip Hose delivers water slowly and directly to plant roots. It reduces surface evaporation compared with many overhead watering methods. Small emitters release controlled drops along the hose. These outlets may sit near tomatoes, shrubs, flowers, or young trees.
The system connects to a water source through tubing, filters, and pressure controls. Water enters the hose and moves through its internal channel. Each emitter then releases water at a measured rate. Moisture spreads gradually through the soil around the root zone. This creates a quieter, more targeted watering pattern.
In a working garden, the details matter. A filter can catch grit before it blocks the emitters. A pressure regulator can prevent weak connections and sudden leaks. The hose should rest close to the plants, but not against their stems. Mulch can protect it from sunlight and reduce moisture loss.
It looks simple.
However, a Drip Hose is not automatically efficient. Poor layout, clogged outlets, or excessive pressure can create dry patches. I have seen one end of a line remain wet while distant plants struggled. That uneven result often reflects installation mistakes, not faulty irrigation technology. Soil type, slope, plant spacing, and seasonal weather must guide the design.
This guide explains how a Drip Hose works, where its water goes, and what affects performance. It also considers practical maintenance, because even a well-designed system needs inspection. A few minutes of checking can reveal blocked emitters, loose fittings, or damaged tubing before plants show stress.
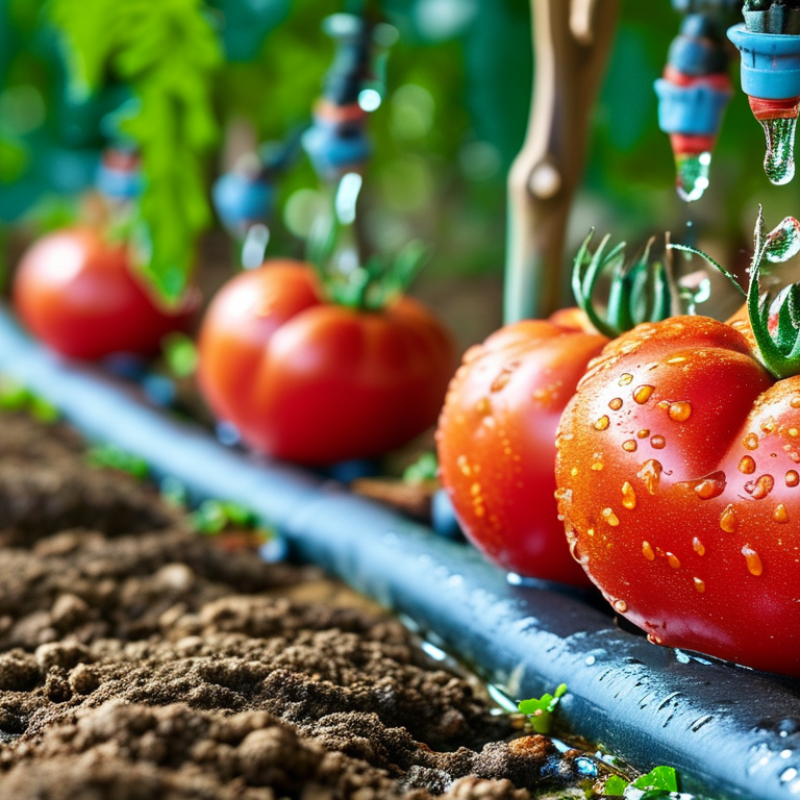
A drip hose is a low-pressure irrigation line that delivers water directly to the soil near plant roots. Unlike overhead spraying, it releases water through small outlets along the tubing. FAO AQUASTAT reports that agriculture accounts for roughly 70% of global freshwater withdrawals. This makes controlled irrigation increasingly important, especially in dry regions. A drip hose can reduce unnecessary wetting between crop rows, but it cannot correct poor system design.
Its main components include polyethylene tubing, emitters, a filter, a pressure regulator, connectors, and an end-flushing valve. The tubing carries water across the planting bed. Emitters release measured amounts, often in liters per hour. The filter traps sand and organic particles before they block these narrow passages. The pressure regulator prevents excessive force, while connectors join separate sections and repair damaged areas. A flush valve helps remove sediment. It is a small part. It matters.
USDA Natural Resources Conservation Service guidance commonly places well-designed microirrigation efficiency near 90–95%, when maintenance and pressure control are adequate. The hose does not work alone. Water enters through a mainline, passes the filter and regulator, then moves through the tubing. Each emitter creates a slow, localized flow. Pressure matters. Filters matter. In practice, uneven terrain can still produce dry patches or overwatering. That limitation deserves attention, because advertised efficiency is not guaranteed in a neglected field.
| Data Dimension | Typical Specification or Value | Function and Operating Principle | Practical Considerations |
|---|---|---|---|
| Definition | Flexible irrigation tubing with built-in water outlets | A drip hose delivers water slowly and directly to the soil near plant roots rather than spraying a large area from above. | It is commonly used for vegetable beds, row crops, containers, landscape plants, and greenhouse growing. |
| Primary Purpose | Localized, low-volume irrigation | Water is applied at or near the root zone, reducing unnecessary wetting of paths, foliage, and bare soil. | Correct layout and pressure control are important for uniform watering. |
| Hose Material | Usually polyethylene or flexible PVC | The tubing forms the water passage and supports the integrated emitters or outlet points. | Material selection affects flexibility, durability, resistance to sunlight, and suitability for seasonal or permanent installation. |
| Common Nominal Diameters | 13 mm, 16 mm, and 20 mm | Larger tubing generally holds more water and can carry flow over longer runs with less pressure loss. | Actual internal diameter varies by wall thickness, so fittings should match the hose specification. |
| Built-In Emitters | Pressure-compensating or non-pressure-compensating types | Emitters regulate the release of water through a small outlet. Pressure-compensating models are designed to maintain a more consistent flow across a wider pressure range. | Emitter type affects uniformity, installation length, and performance on sloped or uneven ground. |
| Emitter Spacing | Commonly 15 cm, 20 cm, 30 cm, or 40 cm | Spacing determines how closely water application points are distributed along the hose. | Closer spacing is often suitable for dense plantings or sandy soil; wider spacing may suit larger plants or heavier soil. |
| Emitter Flow Rate | Typically about 0.5–4.0 L/h per emitter | Each emitter releases a controlled volume of water over time, allowing gradual infiltration into the soil. | The actual rate depends on water pressure, emitter design, temperature, and filtration. |
| Operating Pressure | Often approximately 0.7–1.7 bar for low-pressure drip systems | Water pressure pushes water through the hose and emitters. A pressure regulator helps prevent excessive flow or component damage. | Always follow the hose manufacturer's pressure range; too little pressure can cause uneven discharge, while too much can cause leaks or bursting. |
| Water Source Connection | Supply line, tap adapter, or irrigation manifold | The connection transfers water from the source into the drip hose system. | A shutoff valve is useful for controlling individual zones and isolating the system during maintenance. |
| Filter | Commonly a mesh or disc filter installed upstream | The filter removes particles that could clog small emitter passages. | Filter selection depends on the water quality and the emitter's recommended filtration level; regular cleaning is essential. |
| Pressure Regulator | Device that reduces high supply pressure to a controlled level | It stabilizes the pressure entering the drip hose and helps maintain predictable emitter performance. | A regulator is especially important when the water source is a pressurized household or pump system. |
| End Cap or Flush Valve | Removable closure at the downstream end | It prevents water from escaping during normal operation and can be opened to flush sediment from the hose. | Periodic flushing helps reduce clogging and improves long-term performance. |
| Typical Installation Position | On the soil surface or beneath mulch | Placing the hose near the root zone shortens the distance water must travel through the soil. | Burial depth should be limited and installation should avoid damage from digging tools, rodents, or aggressive roots. |
| Water Distribution Pattern | Small, localized wetting zones around each emitter | Water moves outward and downward through the soil by infiltration and capillary movement. | Soil texture influences the shape: sandy soils tend to spread water more vertically, while clay soils tend to spread it more horizontally. |
| Water-Saving Mechanism | Low-volume application near plant roots | Drip irrigation can reduce evaporation, runoff, and overspray compared with many overhead watering methods when properly designed and maintained. | Water savings are not automatic; leaks, excessive run times, poor spacing, and clogged emitters can reduce efficiency. |
| Maintenance Requirements | Inspect connections, clean the filter, and flush the hose | Maintenance removes particles and identifies leaks or blocked emitters before plant stress occurs. | Check the system at the beginning of the growing season and periodically during operation. |
| Typical Flow Calculation | Total flow = Number of emitters × Flow per emitter | For example, 100 emitters operating at 2 L/h each require approximately 200 L/h, or 3.33 L/min, before pressure losses. | The calculated flow helps determine whether the water source, filter, regulator, and supply line are adequately sized. |
| Main Advantages | Precise application, low evaporation, and flexible layout | The system applies water where it is needed and can be divided into separate irrigation zones. | It works best when the hose is correctly spaced for the crop and the system is protected from clogging. |
| Main Limitations | Potential clogging, pressure sensitivity, and physical damage | Small outlet passages require clean water and adequate filtration, while uneven pressure can create inconsistent watering. | Regular inspection is necessary, particularly in systems using surface water or exposed to sunlight and foot traffic. |
Note: Specifications such as diameter, emitter spacing, flow rate, and operating pressure vary by hose design. The values shown are common reference ranges rather than universal requirements.